Personal project
DIY body & paint conversion
Apparently, the natural consequence of watching too much Fast & Furious and spending a few too many hours customizing cars in Need for Speed is eventually standing next to a compressor, convincing yourself that repainting an entire car is a perfectly reasonable weekend project.
The problem
Cars rarely leave the factory looking exactly the way you imagined them. Unfortunately, changing that gets expensive fast: a professional respray can run into several thousand euros, bodywork adds another sizeable bill, and a body kit is only worth fitting if the finished car is still allowed on public roads.
The solution
Instead of paying someone else to do it, I decided to fit the body kit, repaint the car, and get it TÜV-approved myself: a low-budget, DIY transformation using a compressor, a spray gun, and commercially available 2K acrylic paint.
The paint, hardener, sanding materials, and equipment come to a few hundred euros. The real investment is time, preparation, and accepting that your first paint job may involve a close personal relationship with sandpaper.
What I did
- Installed and aligned the body kit, adapted the fit where necessary, and secured all components properly.
- Removed or masked trim, lights, seals, and surrounding parts that needed protection.
- Sanded the existing paint down to a clean, consistent surface for the new coating.
- Repaired and prepared the problem areas and feathered the transitions between surfaces.
- Cleaned, degreased, and dusted the entire car before painting.
- Mixed the 2K acrylic paint with the matching hardener and, where needed, thinner.
- Set up the compressor and spray gun and dialed in the spray pattern, air pressure, and material flow.
- Applied the paint in multiple overlapping coats, keeping the gun distance and movement as consistent as possible.
- Let the coating cure, then corrected surface imperfections by wet sanding and polishing.
- Passed the TÜV inspection and registration so the modifications were fully road legal.
- Installed a 750-watt amplifier and subwoofer, because apparently a body kit does not count unless the trunk vibrates as well.
The result
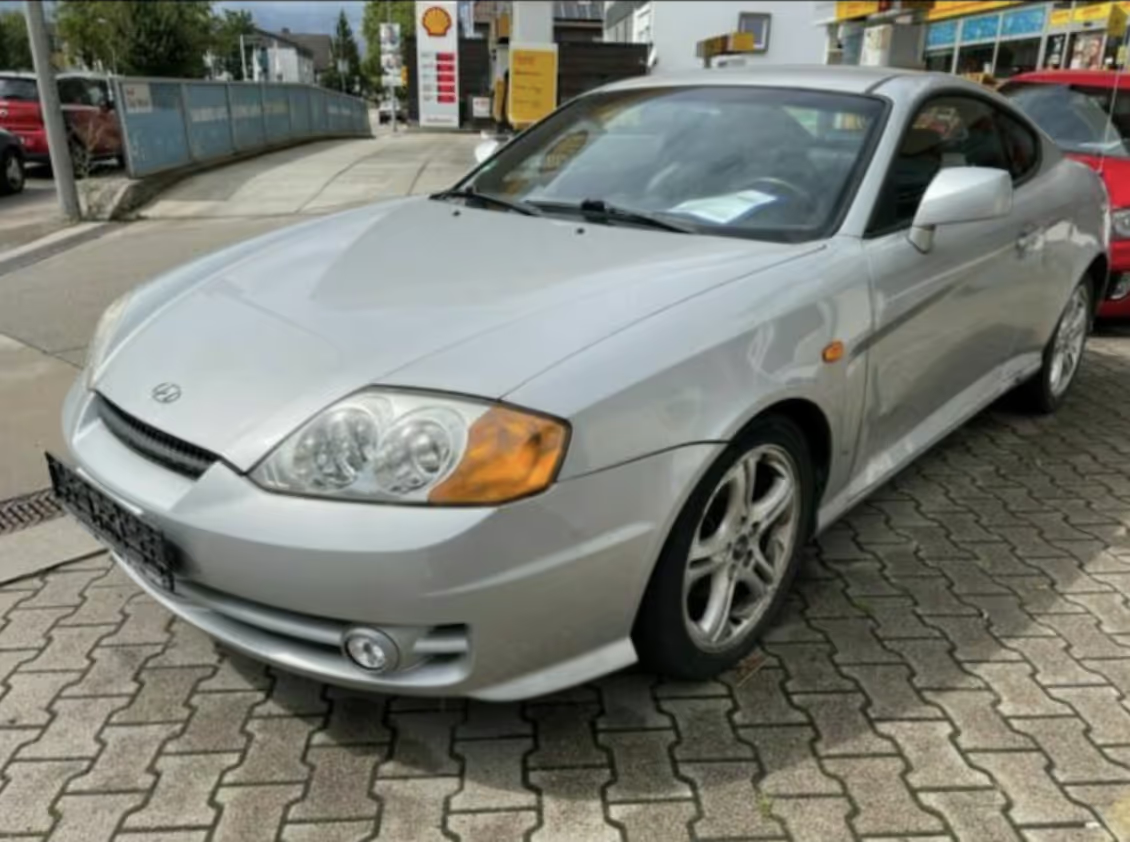
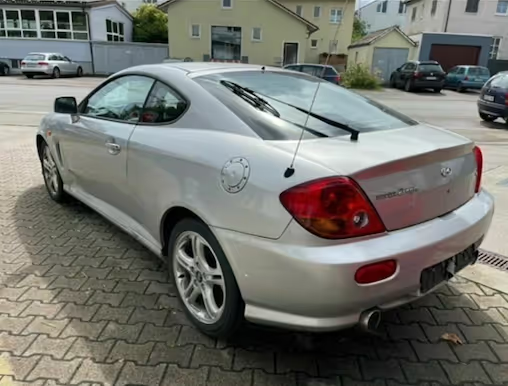
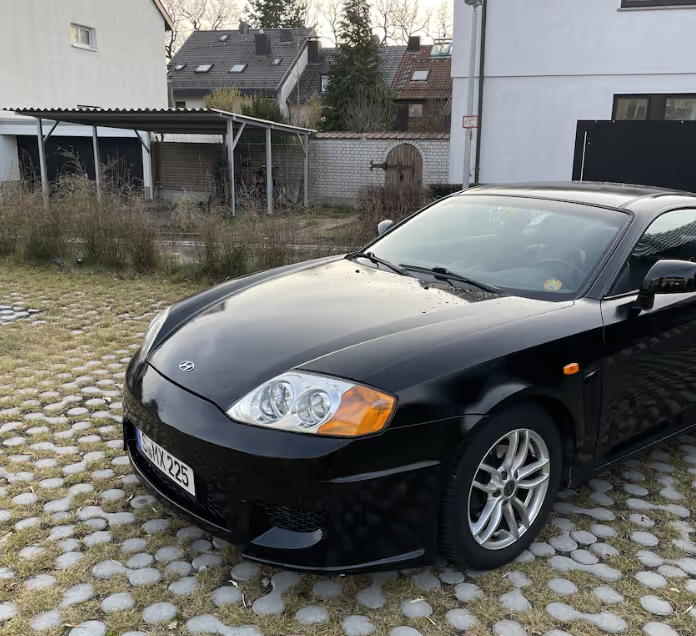
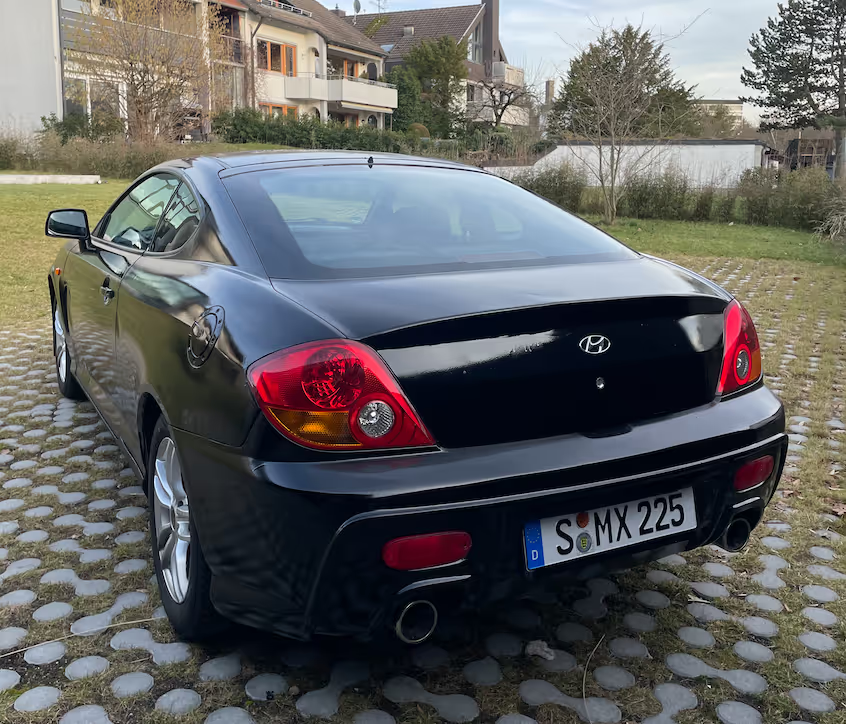
One Hyundai Coupé GK that leaves the garage looking nothing like it did at the factory: black, body-kitted, road-legal, and considerably louder than strictly necessary. The whole thing cost a fraction of a professional respray, paid mostly in time, sandpaper, and 2K fumes. Would I do it again on a single weekend? Absolutely not. Am I glad I did it? Every time it starts.
Figures